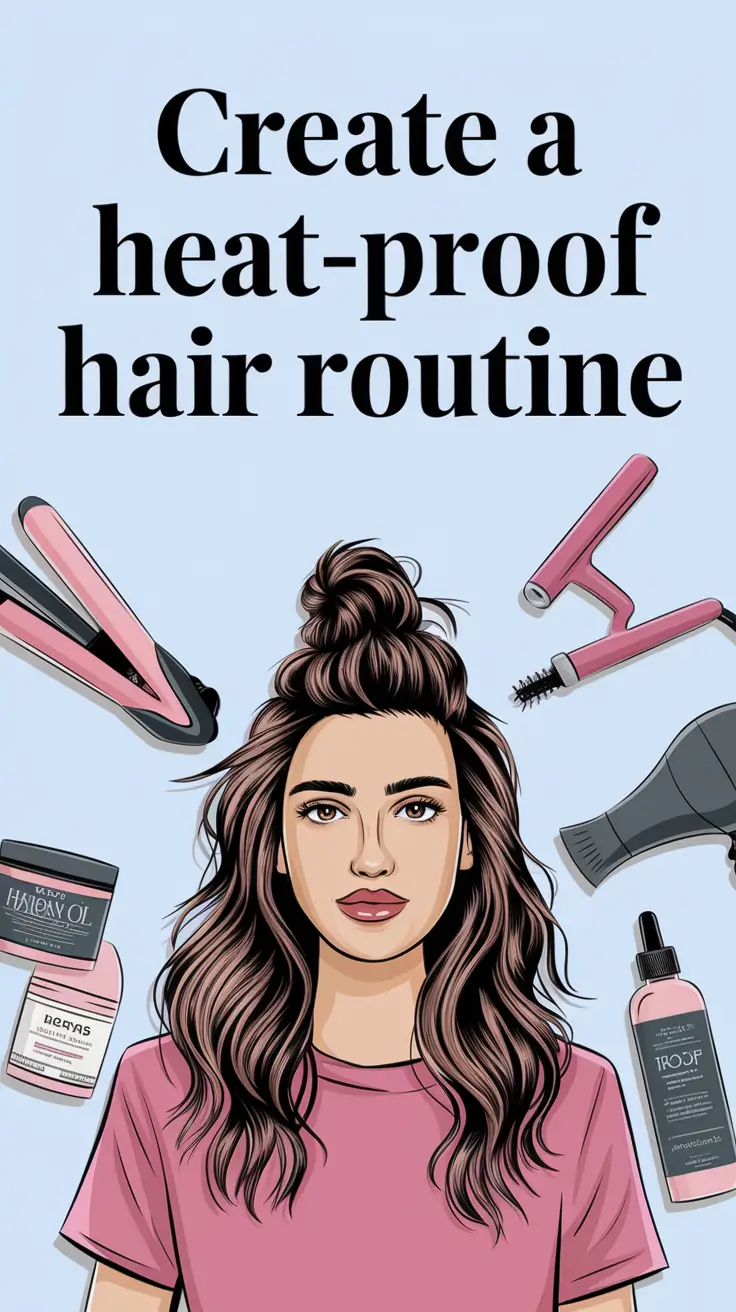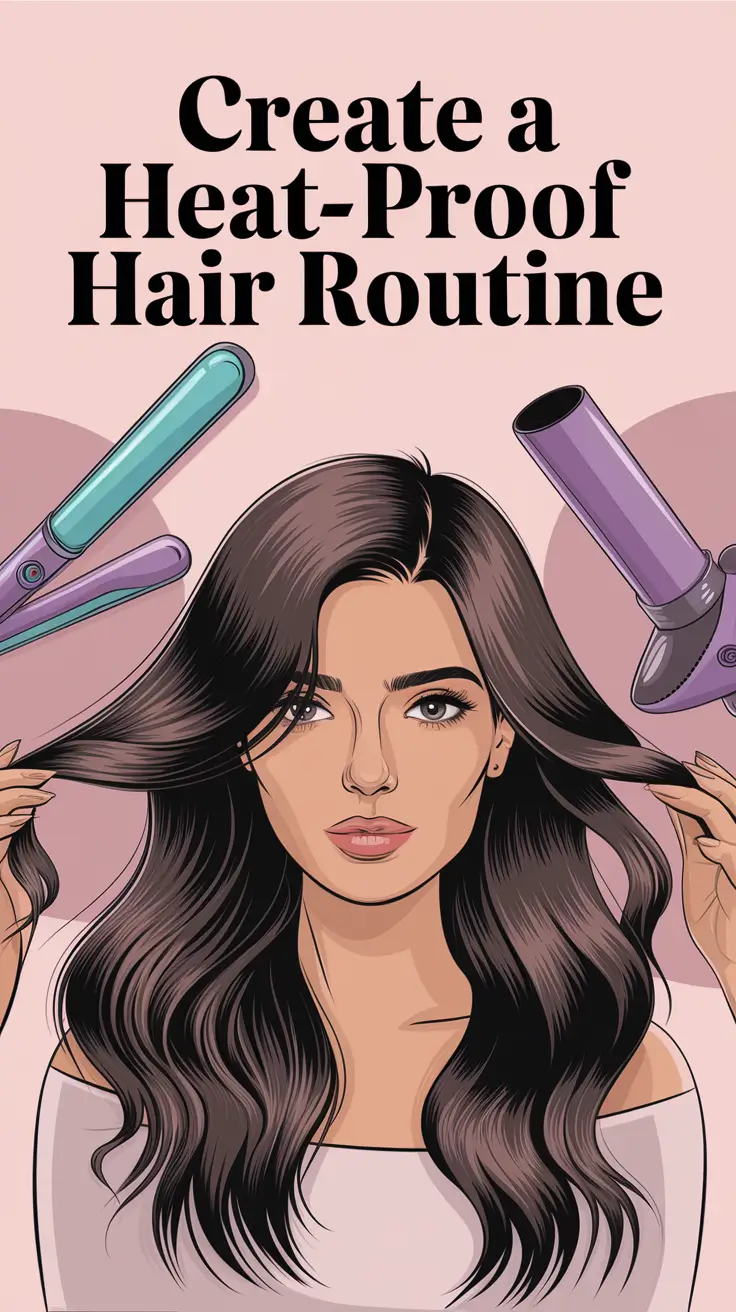
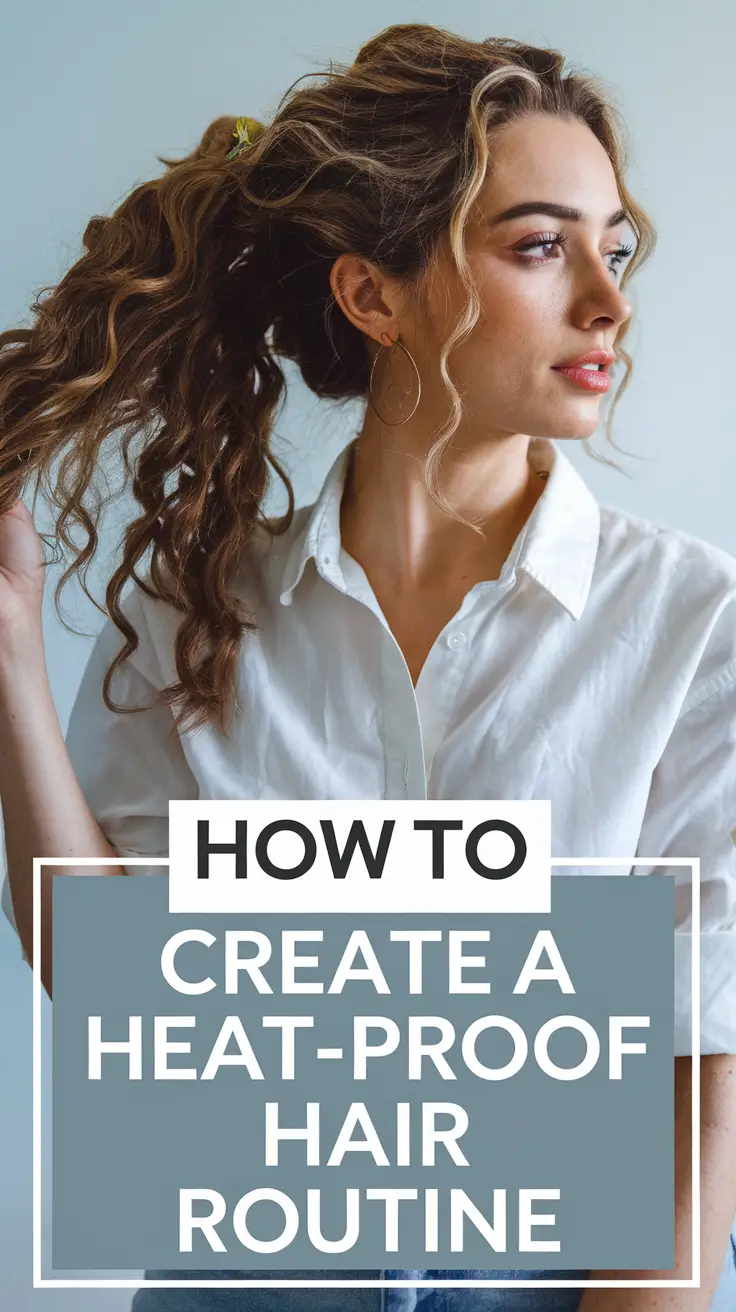
Did you know that regular heat styling at high temperatures leads to permanent damage to your hair within a month time? If you’ve ever noticed frizz, split ends, or a sudden lack of shine, your blow-dryer or flat iron might be to blame. In 2026, with the rise of powerful styling tools and ever-changing trends, creating a reliable heat-proof hair routine is no longer optional — it’s essential.
This article will explain to you every single step in how to protect your hair from the heat damage. You’ll learn how to choose the right products, apply them in the correct order, and avoid common mistakes that sabotage your results. Whether you choose to style your hair daily or just before special occasions, this guide will assist you in keeping your hair healthier, shinier for the long run.
Who is this for?
- Anyone, who makes use of such heat tools as straighteners, curling wands or hair dryers
- People with color-treated, bleached, or naturally delicate hair
- Stylists looking to educate clients about modern protection routines

What Is Heat Protection and Why Does It Matter in 2026?
Heat protection is not just about spraying something on prior to using your flat iron. It’s a layered approach to reinforcing your hair’s natural barrier and buffering the impact of high temperatures. Upon reaching 300°F (150°C) or above, the internal keratin of your hair may disintegrate, causing breakage, porosity and long term dullness.
As many styling devices go, by the 2026 there is a lot of heat to be had — up to 450°F (232°C) pretty much anywhere — faster and hotter than ever. According to new research, thermal damage starts at 266°F, even if the levels aren’t being set high. That’s why building a heat-proof hair routine with the right sequence of products is now a top beauty priority.
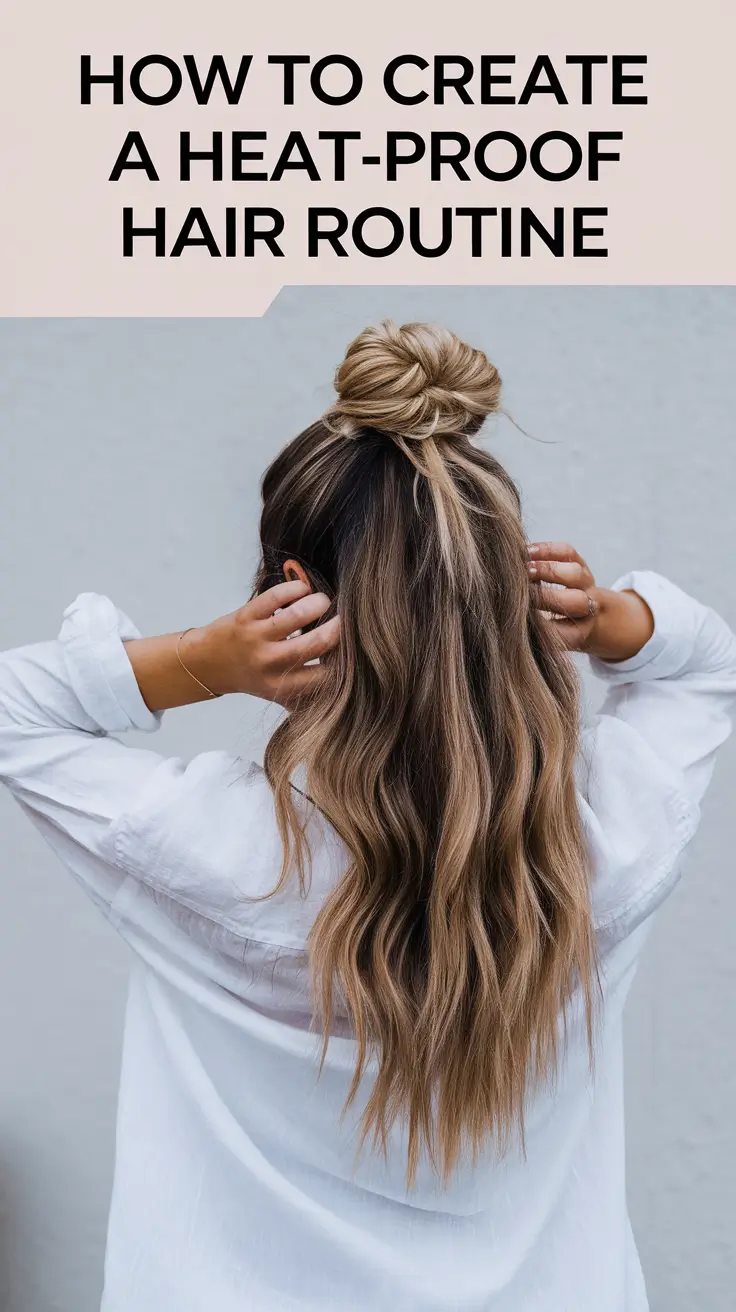
We’re also seeing a shift in beauty standards: the “glass hair” trend, sleek blowouts, and soft waves dominate social media. These styles need the use of heat tools, and it needs protection to keep that polished look, without ruining your strands.
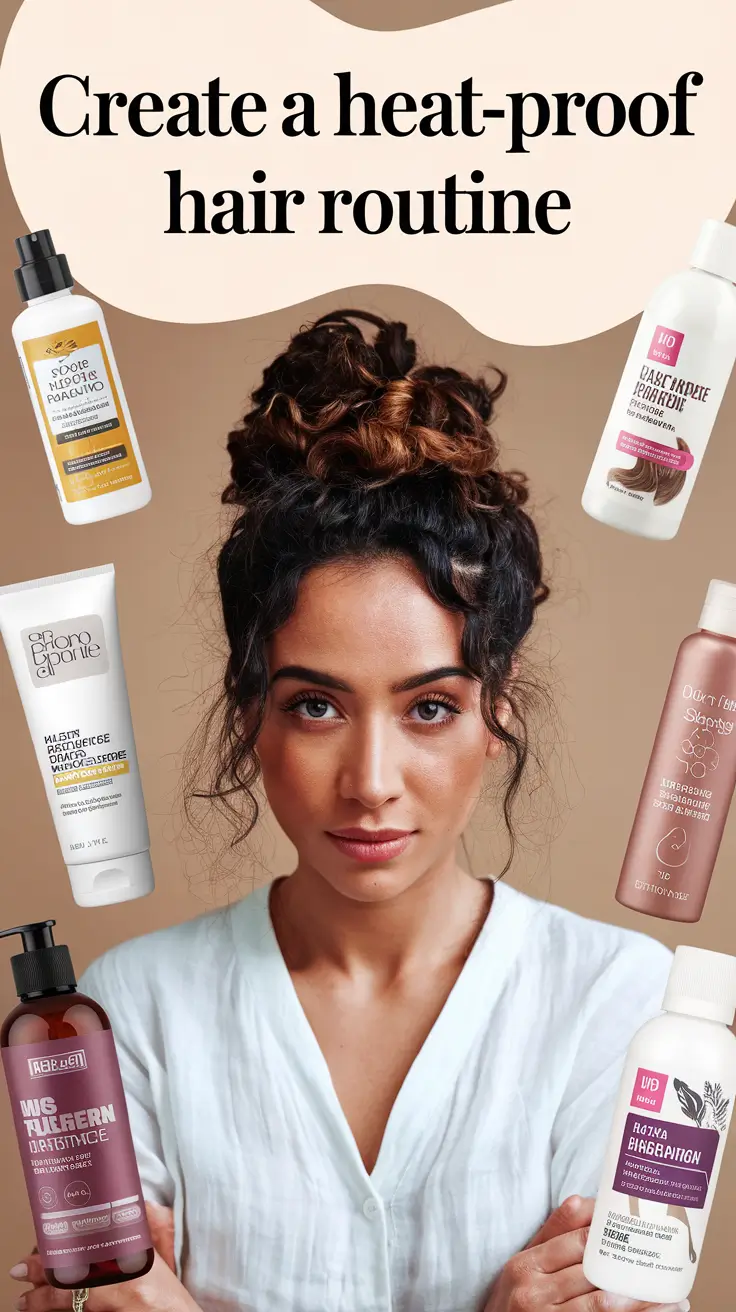
Types of Heat Protectants: What Should You Choose?
Sprays, Creams, Serums, or Oils?
Choosing a heat protectant depends largely on your hair type and how you style it. Here’s a quick comparison:
| Product Type | Best For | Key Benefits | Texture |
|---|---|---|---|
| Spray | Fine or straight hair | Lightweight, easy to apply | Liquid mist |
| Cream | Medium to thick hair | Hydration + control | Smooth, lotion-like |
| Serum | Frizzy or curly hair | Shine, frizz control | Glossy, light oil |
| Oil | Dry, thick hair | Seals moisture, adds shine | Heavier oil |
Pro tip: Always choose products labeled “thermal protection” or that list silicones like dimethicone or amodimethicone — these coat the hair and help distribute heat evenly.
Top Picks for 2026
| Hair Type | Product | Heat Protection Level | Avg. Price |
|---|---|---|---|
| Fine Hair | Olaplex No.9 Bond Protector | Up to 450°F | $30 |
| Curly Hair | Mizani 25 Miracle Milk | Up to 410°F | $24 |
| Bleached Hair | K18 Leave-In Molecular Repair | Up to 420°F | $75 |
| Thick Hair | CHI Silk Infusion | Up to 425°F | $20 |
Step-by-Step: Building a Daily Heat-Proof Routine
Step 1: Prep Hair Post-Wash
Immediately after a wash, blot, don’t rub, your hair with a towel. Never apply heat protectants to soaking wet hair. Damp is best for even absorption. If you’re using a leave-in conditioner, this is the time to layer it in.
Question for you: Have you ever seen more frizz if you skip this step? That’s the difference preparation makes.
Step 2: Apply Products in the Right Order
- Leave-in conditioner: Adds moisture and detangling benefits.
- Cream or serum heat protectant: For midshaft to ends.
- Light mist spray: Optional layer for extra protection before direct heat.
Start with small amounts and add more as needed. Comb through to distribute evenly.
Step 3: Choose the Right Tool & Temperature
Use tools with adjustable heat settings. Here’s a general guide:
- Fine or damaged hair: 250-300°F
- Medium/thick hair: 300-375°F
- Coarse, resistant hair: 375-420°F
Never use the highest setting unless absolutely necessary. A tool must take longer at a lower heat than a quick blast on a higher heat, which is usually the safer alternative.
Common Heat-Styling Mistakes That Ruin Hair
Mistake #1: The trick is to apply heat protectant to hair that is dripping wet – it washes away.
Mistake #2: Leave blowing blow drying unprotected — heat is heat, regardless of source.
Mistake #3: Too many oils being layered – not all oils are heat safe. Some burn.
Mistake #4: The dirty tools – product build – up on plates result in uneven heating and damage.
Quick Checklist for Smart Styling
- Is your hair at least 80% dry before applying heat?
- Did you detangle to avoid snagging?
- Is your heat tool clean?
- Did you use a product rated for high heat?
Tick all four? You’re good to go!
2026 Innovations in Heat Protection
This year, brands are stepping up. We are witnessing biomimetic peptides, proteingetStringFilms and bond repair ingredients getting mainstreamed.
Here are three notable launches:
- Virtue Labs Thermal Protection Mist – contains Alpha Keratin 60ku® strengthening prior to styling.
- Color Wow Dream Coat Supernatural Spray — maintains smoothness and overcomes humidity.
- Living Proof Restore Perfecting Spray- protects from heat while conditioning dry ends.
Quote from stylist Mia Torres:
Summary: What to Remember About a Heat-Proof Hair Routine
- Always prep hair before heat — product timing matters.
- Select the right formula for your hair type and hair style.
- Use the correct temperature setting based on your texture.
- Avoid common mistakes that sabotage your routine.
- Stay updated with modern formulas designed for high-performance protection.
And now your turn: What does your heat-proof routine look like? Have a favorite product or trick to share? Leave a comment below or share this guide with a friend who always curls without a protective product!
[Share on Facebook] [Tweet It] [Pin for Later]