
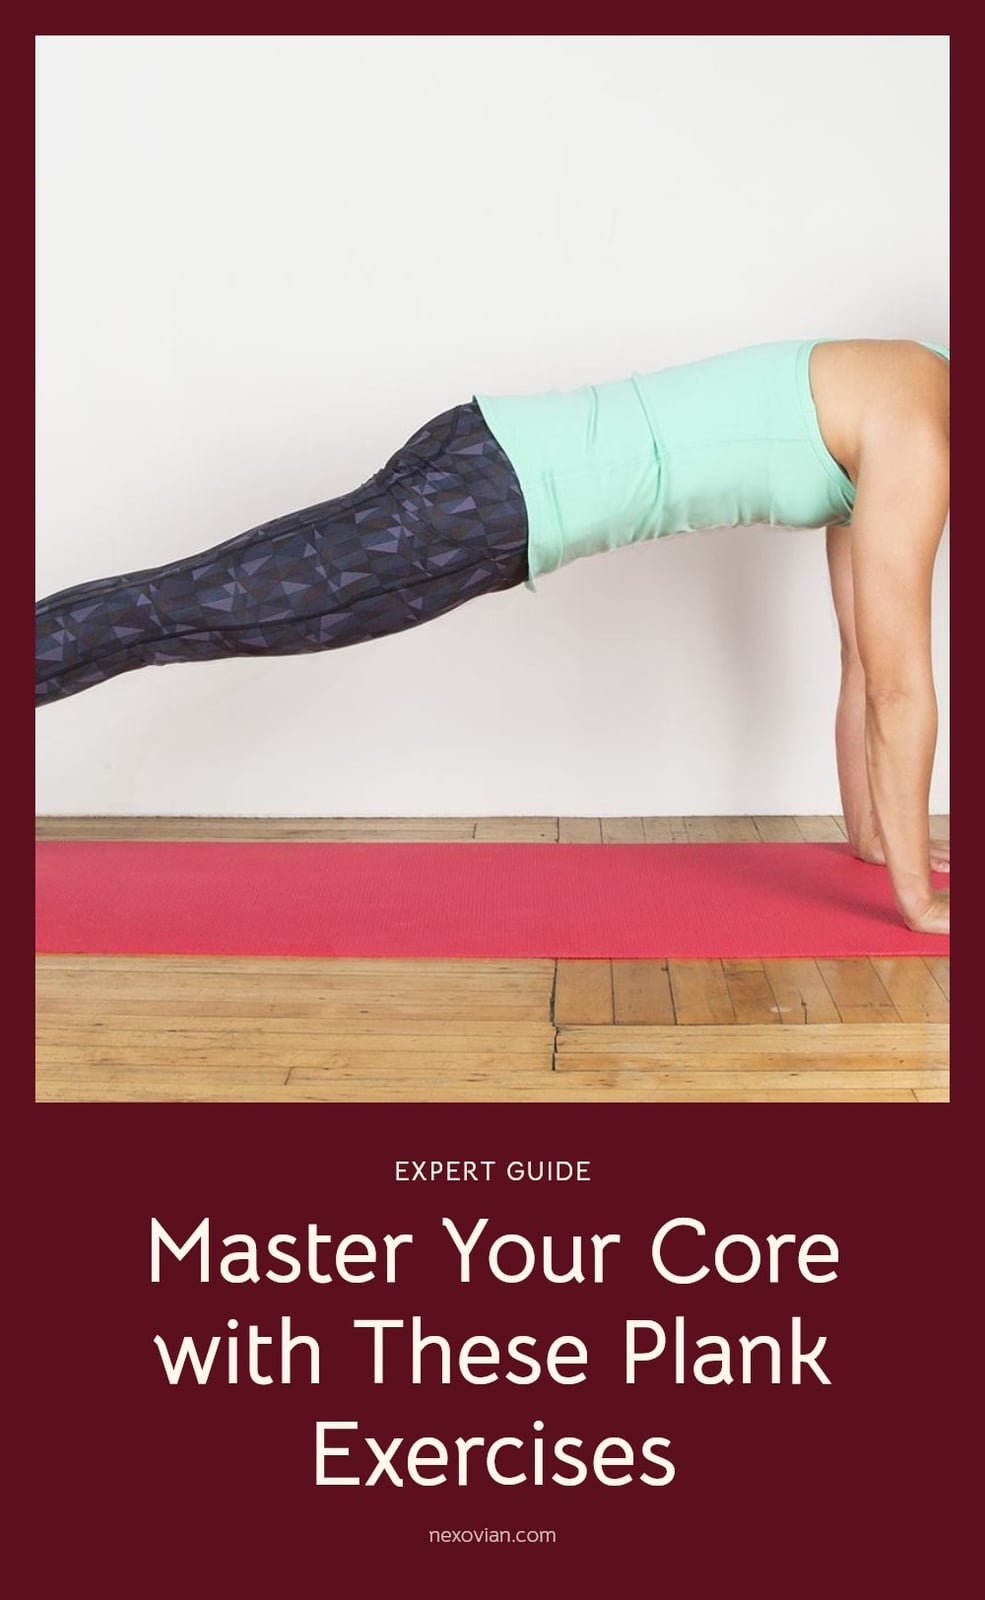
You might wonder if you’re holding a plank long enough to actually see results. The honest answer is that quality matters far more than quantity, and most people get the best results from shorter, perfectly formed holds. This article covers the ideal plank duration, the most common form mistakes, and the best variations to keep your core challenged.
Key Takeaways
- Hold a plank for 20 to 60 seconds with perfect form for 3 to 5 sets.
- Keep your body in a straight line from head to heels to avoid lower back strain.
- Stop immediately if you feel sharp pain in your back, neck, or shoulders.
- Add variations like side planks or hip dips once the basic plank feels solid.
- Practice 3 to 4 times per week; improved core strength often shows within a few weeks.
The Optimal Plank Hold Time for Core Strength
Most people get the best return from a hold of 20 to 60 seconds, repeated for 3 to 5 sets, rather than from one marathon hold. Perfect form for 30 seconds beats a sloppy two minutes every time, because the moment your hips drop or your shoulders collapse, the core stops doing the work and your lower back picks up the slack. Tip: if you can hold past 60 seconds without shaking, add a set or a variation instead of adding time.
Essential Tools for Your Plank Workout
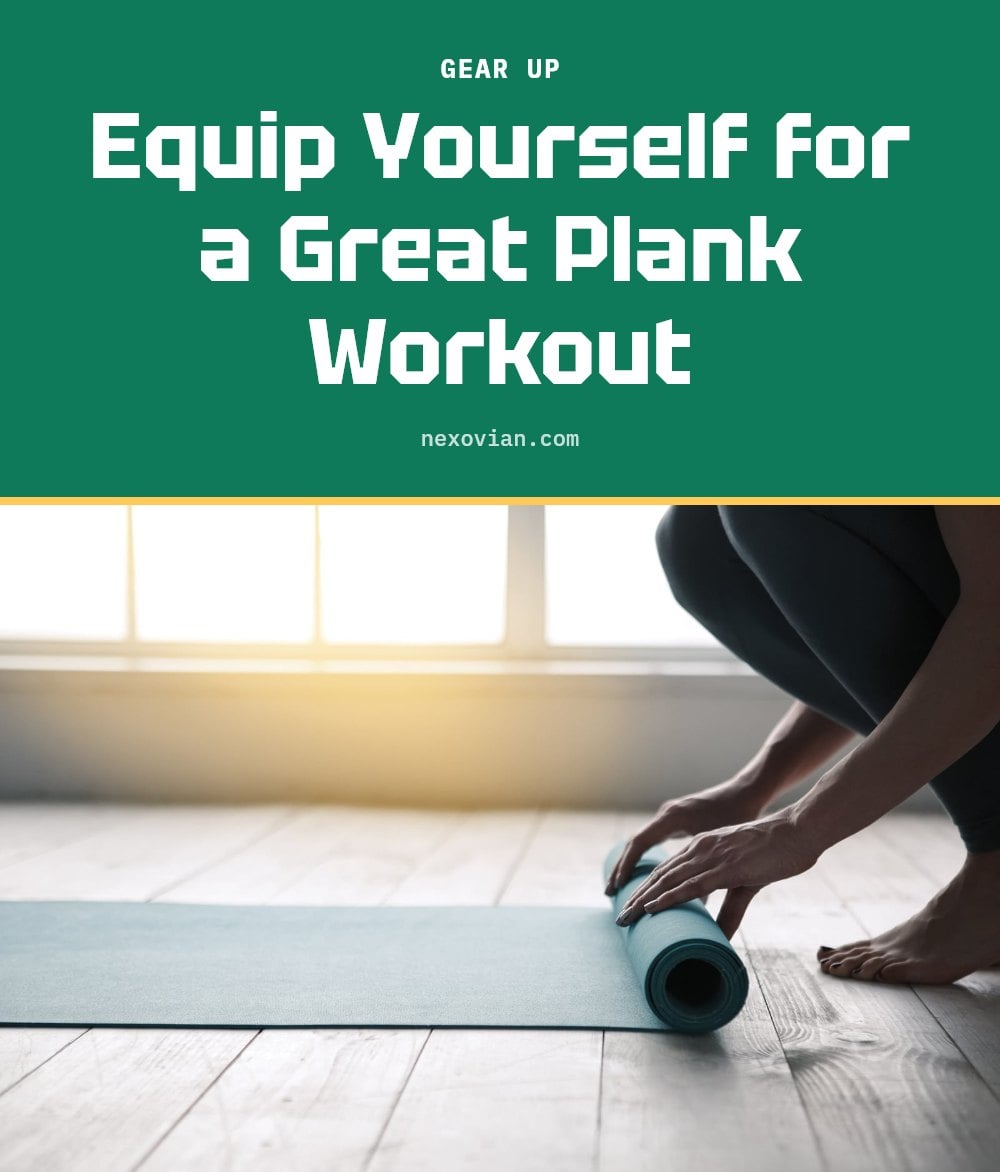
Planks need almost nothing, which is part of why I keep coming back to them on busy days.
- Exercise mat: a mat cushions your forearms, elbows, and knees on hard floors and gives your hands a surface that does not slide.
- Comfortable workout attire: pick clothes you can move in freely, since anything tight across the shoulders or waist can pull you out of a straight line.
Barefoot works fine. Skip shoes with thick soles, which can tilt you forward in a high plank.
Step-by-Step: Mastering the Basic Plank
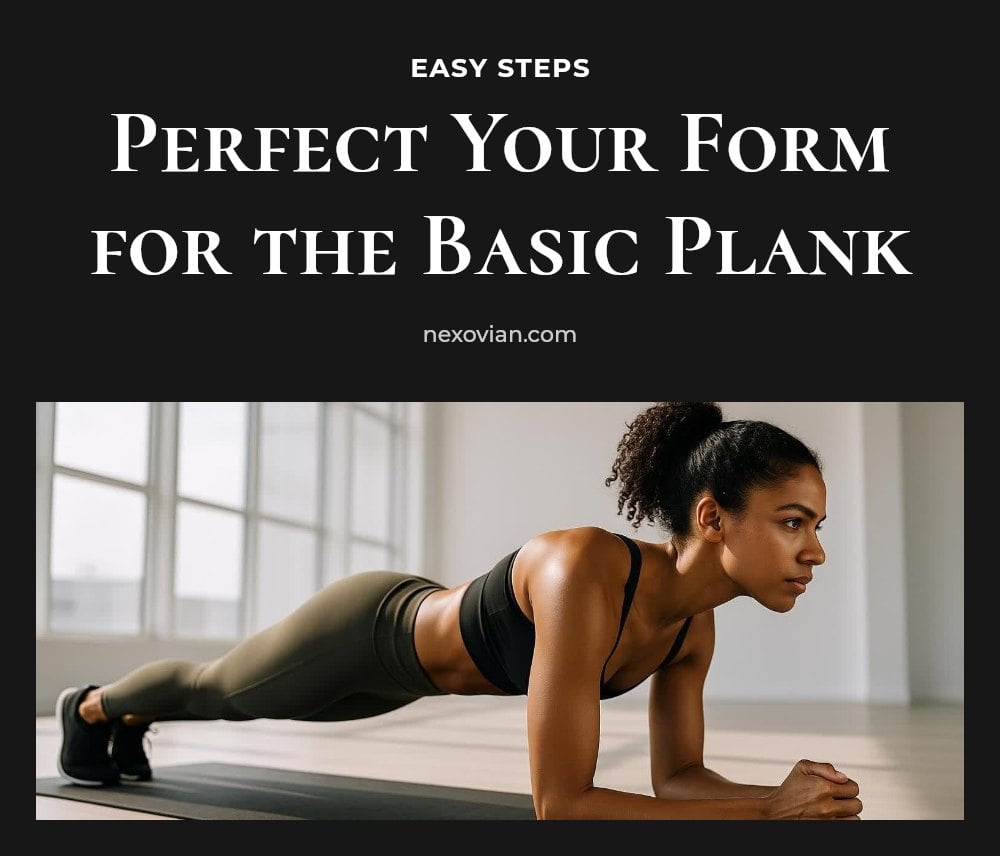
The setup takes ten seconds. Getting the details right is what makes the hold worth doing.
- Choose your position: set your forearms on the floor with elbows under shoulders for a forearm plank, or stack your hands under your shoulders with arms straight for a high plank. Forearm planks are gentler on the wrists.
- Engage your core: pull your belly button toward your spine as if bracing for a light punch. This switches on the deep abdominal muscles that protect your lower back.
- Build a straight line: check that your head, hips, and heels form one line. Sagging hips strain the lower back, and lifted glutes take the load off your core.
- Set your neck: keep it neutral with your gaze slightly forward or down. Looking up at the ceiling or tucking your chin too far both pull the spine out of line.
- Breathe: take slow, steady breaths through the whole hold. Counting them out loud is an easy way to check you are not holding your breath.
- Release with control: lower your knees to the floor first, then push back to sitting or standing. Dropping straight down is how people tweak a wrist.
My tip: film one set on your phone from the side. It shows hip sag faster than you will feel it.
Common Plank Mistakes and How to Fix Them
Almost every bad plank comes down to one of these five habits.
- Sagging hips: keep your core engaged and squeeze your glutes slightly to hold the pelvis level.
- Raising glutes too high: lower them until your body forms a straight line from head to heels. A peaked shape means the core has switched off.
- Holding your breath: breathe deeply and steadily. Breath-holding raises blood pressure and cuts the hold short.
- Straining your neck: keep your gaze neutral, slightly forward or down, so your neck stays in line with your spine.
- Rounded shoulders: press actively through your forearms or hands to push the floor away and keep the shoulders stable.
Best Plank Variations to Challenge Your Core
Best Plank Variations to Challenge Your Core
Once the basic plank feels solid, adding variations keeps your core guessing and targets muscles you might miss with a static hold.
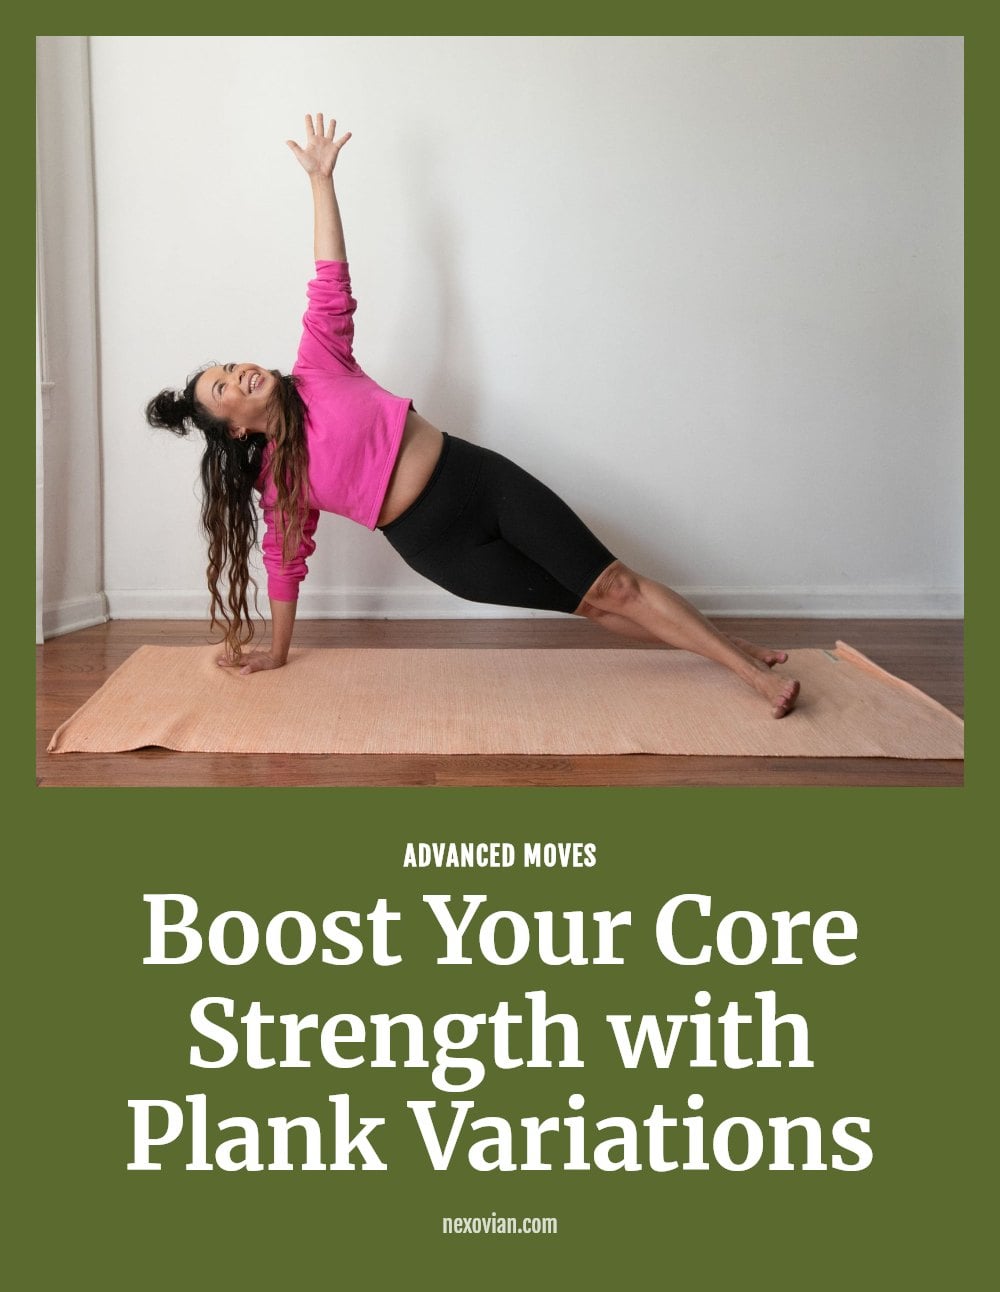
- Side Plank: Lie on one side with your elbow under your shoulder, legs stacked. Lift your hips until your body forms a straight line from head to feet. This targets the obliques and improves lateral stability. Tip: Hold for 20-60 seconds per side to start.
- Plank with Hip Dips: Start in a forearm plank. Slowly rotate your hips to one side, dipping them toward the floor without touching it, then return to center. Repeat on the other side. The dynamic movement engages the obliques more intensely than a static hold. Caution: Move slowly to control the rotation, not speed.
- Plank Jacks: Begin in a high plank (hands under shoulders). Jump both feet out wide, then jump them back together, keeping your core braced and hips level. This adds a cardio element and full-body engagement. Tip: Land softly to protect your wrists and shoulders.
- Knee Plank: Perform a standard plank but rest on your knees instead of your toes. Keep your body in a straight line from shoulders to knees. This is a great modification for building foundational strength before progressing to a full plank. Good to know: You can still engage your core effectively with this version.
Pro Tips for Maximizing Your Plank Benefits
Pro Tips for Maximizing Your Plank Benefits
- Engage Your Whole Body: Squeeze your glutes and quads throughout the hold. This creates full-body tension that stabilizes your core and makes each second more effective.
- Focus on Breathwork: Inhale and exhale deeply and steadily. Holding your breath raises blood pressure and reduces stamina; steady breathing maintains core engagement and helps you hold longer.
- Listen to Your Body: Stop immediately if you feel sharp pain in your back, neck, or shoulders. It’s better to rest and try again later than to push through an injury.
- Consistency is Key: Aim for regular practice, 3 to 4 times per week, rather than one very long hold. Short, frequent sessions build strength more reliably than sporadic marathon planks.
Plank Workout Schedule and Expected Results
Plank Workout Schedule and Expected Results
- Frequency: Perform 3-5 sets of 20-60 second holds, 3-4 times per week. Rest 30-60 seconds between sets.
- Duration to See Results: Many people notice improved core strength and stability within a few weeks of consistent practice. Posture may also improve.
- Cost: Planks are a free exercise. You only need a mat for comfort, but a towel on carpet works too.
When to Consult a Professional About Planks
When to Consult a Professional About Planks
- If you experience sharp or persistent pain in your back, neck, or shoulders during planks, stop and consult a doctor or physical therapist.
- If you have pre-existing wrist, shoulder, or lower back injuries, get medical advice before adding planks to your routine.
- If you are pregnant, talk to your doctor before starting or continuing plank exercises.
- If you have severe carpal tunnel syndrome or other wrist conditions that cause pain, avoid planks until a professional clears you.
Frequently Asked Questions
What muscles do planks work?
Planks primarily engage the rectus abdominis, transverse abdominis, obliques, and erector spinae in your lower back. They also work your shoulders, glutes, and quads when you maintain full-body tension.
Can I do planks every day?
Yes, you can do planks daily as long as you listen to your body and maintain good form. However, your core muscles need recovery time, so consider alternating days or varying the intensity to avoid overuse.
How can I make planks easier?
If a full plank on your toes is too challenging, drop to your knees while keeping your body in a straight line from your head to your knees. You can also shorten the hold time to 10 to 15 seconds and gradually increase as your core strengthens.
Is a 30-second plank good?
Yes, a 30-second plank with perfect form is excellent. Many people find that 30 seconds of solid core engagement yields better results than a longer hold with sagging hips or poor alignment.
Do planks help with lower back pain?
Regular plank practice can help strengthen the deep core and lower back muscles, which may reduce lower back pain for some people. If you have persistent pain, consult a doctor or physical therapist before continuing.
Final Thoughts
Aim for 3 to 5 sets of 20 to 60 second holds, three to four times per week, and focus on keeping your core tight and your body straight. Most people notice stronger abs and better posture within a few weeks of consistent practice. Stick with shorter, clean holds and your core will thank you.
This article provides general fitness information and is not a substitute for professional medical advice. If you have a pre-existing injury, chronic pain, or any health concerns, consult a doctor or physical therapist before starting or modifying your exercise routine.

